
Estimated reading time: 10 minutes
Jump To…
We’ve already praised the use of facets in the past. They provide superior search functionality and let your shoppers drill down to find exactly what suits their needs. Trying to discern which data should be used as a facet can be complicated depending on your products, but one thing that isn’t complicated is getting your facets set up! In Miva 10, facets are largely created and controlled by custom fields.
Custom fields also have a special place in our hearts. They allow for some really cool customization, easy data control and collection, and can be used by the shopper, the store owner, and Google. So while this post is going to describe the set up of facets, that will go hand-in-hand with the setup and use of custom fields.
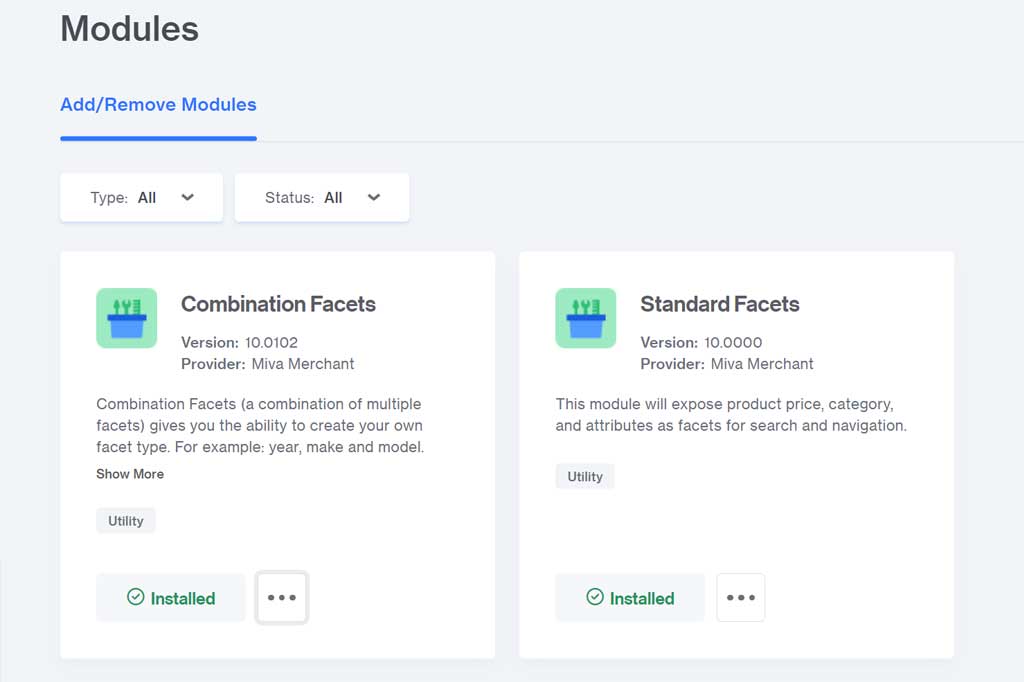
NOTE: You can create custom fields anytime you need, but in order to use them as facets, you must have Miva’s Facet module installed. If you don’t currently have that module on your site, please contact your developer.
Custom Fields
Before you can master facet setup, you need to be comfortable with creating and managing your custom fields. Thankfully, it’s pretty simple!
Creating Custom Fields
Let’s head into your Utility Settings, then into the Custom Fields tab to get this started.
- Log into your Miva admin. Select the Settings menu in the bottom left corner.
- Select Utilities. From the Utility Settings page, you should already be on the Custom Fields tab.
- To create a new custom field, click the blue New Custom Field button. A small window will open.
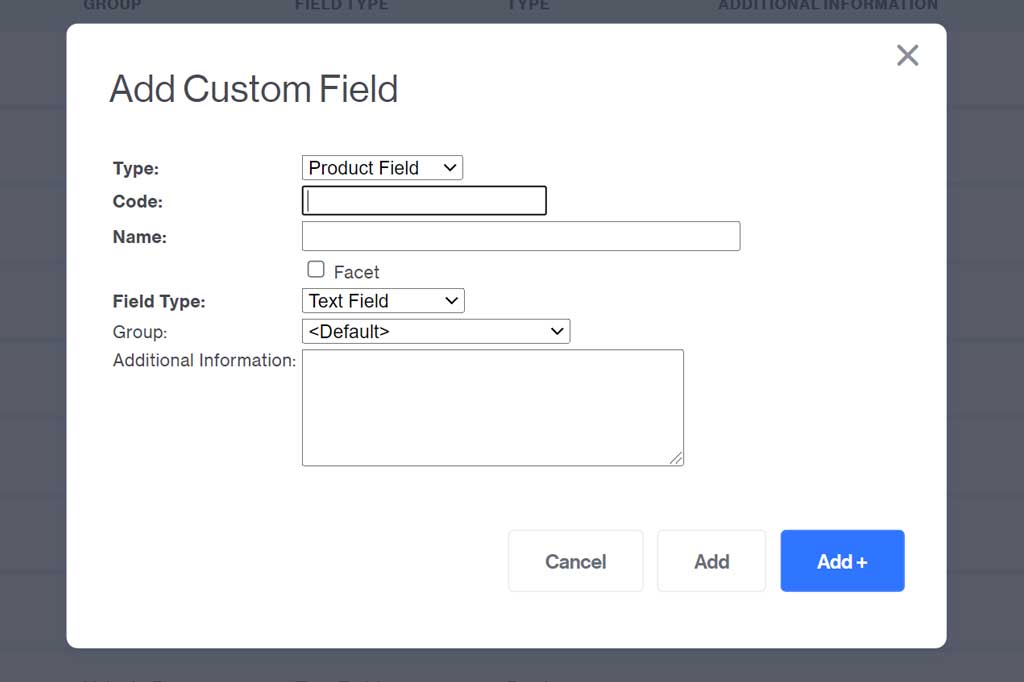
4. Enter your desired data…
- In the case of facets, you want the custom field to be a PRODUCT field type.
- The NAME field is how the facet will show up on the site
- If you’re making this custom field into a facet, the FACET checkbox should be selected.
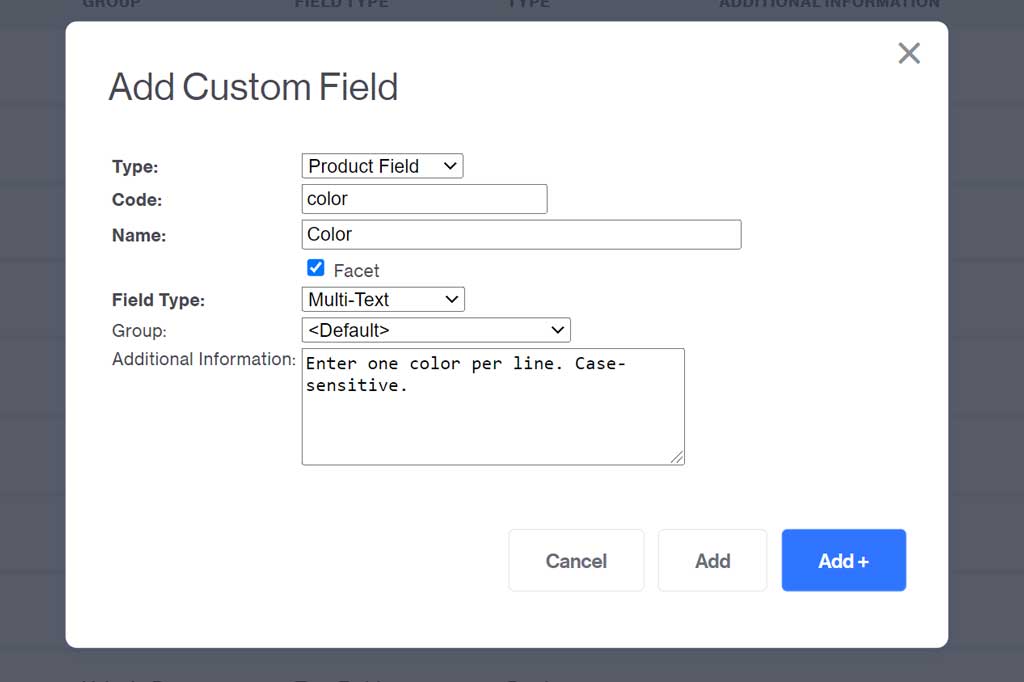
- The FIELD TYPE will allow you to choose how the data will be input into the fields (ie. a dropdown list with predefined options, a simple text field, a multi-text area that allows for multiple options, like several colors or materials)
- A GROUP isn’t necessary, but if you want to create one you can. When you view a product page in Miva, the custom fields that you “group” together will show in a separate tab. An example of when this is used is for Google data custom fields.
- The ADDITIONAL INFORMATION is optional as well but can provide context or instructions.
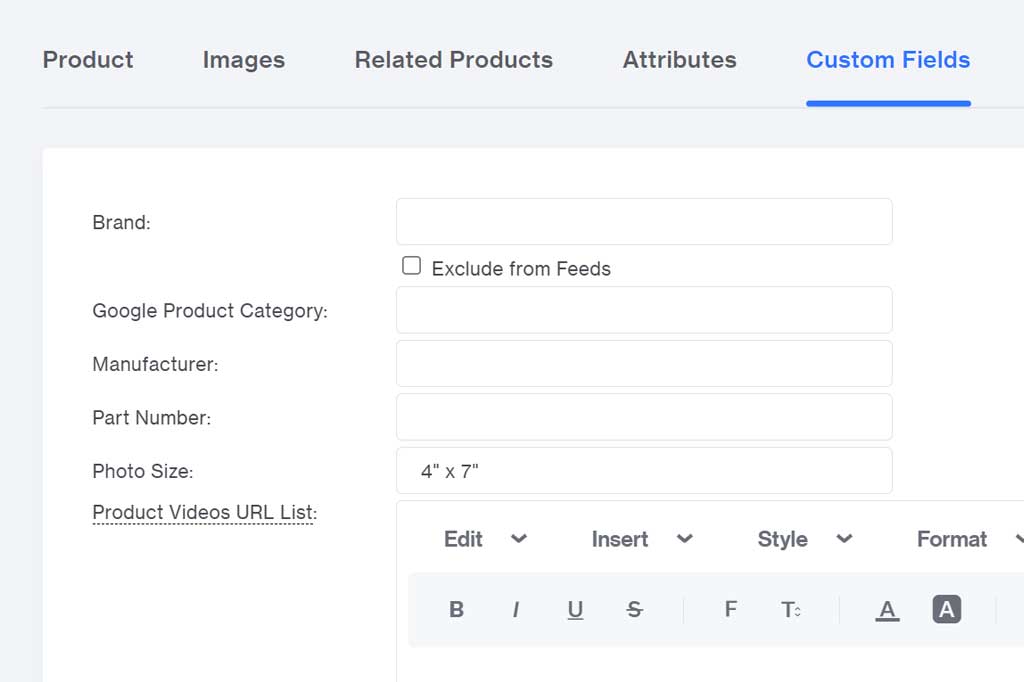
When you Add the custom field, it will become immediately visible on your product pages. Once you’re on the product page, you can view your custom fields and fill in the data as needed.
Putting Your Custom Fields to Use
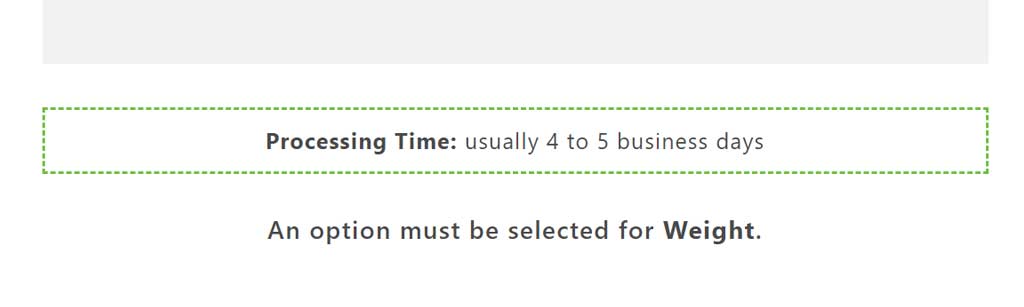
For custom fields that aren’t facets, you will need some developer help if you’d like the fields to be displayed on your store front. For example, if you’d like to include Processing Time on your product pages, you can create the custom field and fill in the data, but the Product Page template in Miva will need to be updated and stylized in order for the information to display.
If, however, you’re using these fields for personal reference, then you can get using them right away. A use-case example would be to create a field labelled Discontinued. When a product is discontinued by your supplier, you may want to keep track of that, and fill in the date. It doesn’t need to show on the store front, but can be kept for reference if needed.
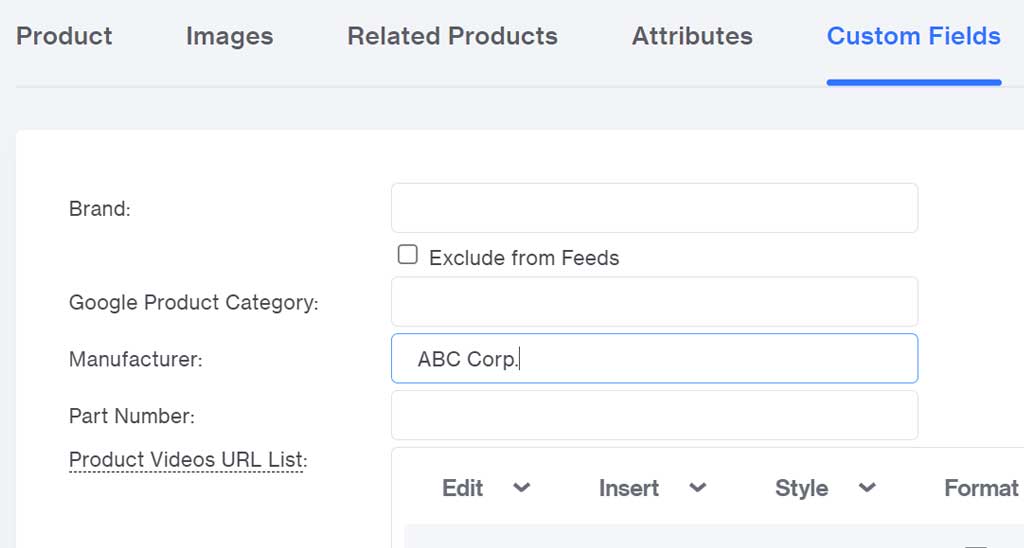
Similarly, a Manufacturer field can help your ordering clerk by letting them know who supplies the item for you, without the information being visible to your shoppers.
Usage Tips:
Less is more
If you’re anything like me, you really like the idea of being organized, but that can sometimes get away from us. Similar to my constantly growing collection of highlighters and empty notebooks, an excess of custom fields can get cluttered really quickly.
Don’t create more fields than absolutely necessary. Remember, the more fields you have, the more will need to be filled out for every product.
Use Groups
The Groups option isn’t necessary when creating custom fields, but it is helpful. Being able to segregate your fields into groupings can help keep similar fields separated. For example, if you sell coffee and coffee machines, you may want to have specs and production details for both, but the types of fields might be wildly different.
For coffee, you’d have Roast, Flavor Notes, and Grind, but for your machines, you may have Voltage, Brew Capacity, and Color/Finish. Instead of one long list that has a jumble of all your fields, it may be easier for your team if you split them into a Coffee group, and a Machine group. That way, when you’re adding new coffee products, you know you can skip the Machine tab entirely.
Consistency is Key
If you really want to get the most out of your custom fields (whether they are facets or not), it’s best to fill them out consistently. If you don’t keep up with your data entry, then you may as well not have the fields at all. By skipping products, forgetting to fill in the data, or filling it in with typos/inconsistencies, you won’t get accurate results when you search for products via custom fields. And if the data shows on your site, it’s even more important that your shoppers are getting reliable information.
It’s also important to be consistent with how you fill in the data. By entering 9” x 12” in a Photo Frame size custom field, it will create a new 9” x 12” facet option on the site. If I type “9” x 12”” on one product, but “9 in. x 12 in.” on another, I’d end up with multiple facets. The data is case and typo sensitive. This includes spaces, punctuation, and capitalization. Things can get messy pretty quickly if you accidentally make a typo or add a wayward space.

Facets
Once you have your custom fields set up and the data filled up, they are ready to operate as facets. First, you need to ensure that Facets are set up on your site. If you’ve never used them and they don’t currently display on your site, contact your friendly neighborhood developer to get set up.
Once that has been confirmed, there are a few changes that you can make to how the facets are displayed on your site. You can make these changes in your Catalog, under the Facet Rules tab:
- Change your facet display name
- Add priority to re-order your facets
- Display type
- Display handling
Merchandising With Your Facets
Display order is often a key component of merchandising your store. The order in which you present your facets can be just as important as the order of your products. By arranging your facets in a logical order, you can help guide your shopper through making the right selections to find exactly what they need.
For example, if you sell shoes, and someone has searched for “Boots” you can help them narrow down their results in a logical way the same way you might do in store.
- Men’s, Women’s, or Unisex
- Select your Size
- Color
- Heel height
The Facet Rules page displays every possible facet in your store. It will allow you to decide the order in which the facets display, as well as the display name.
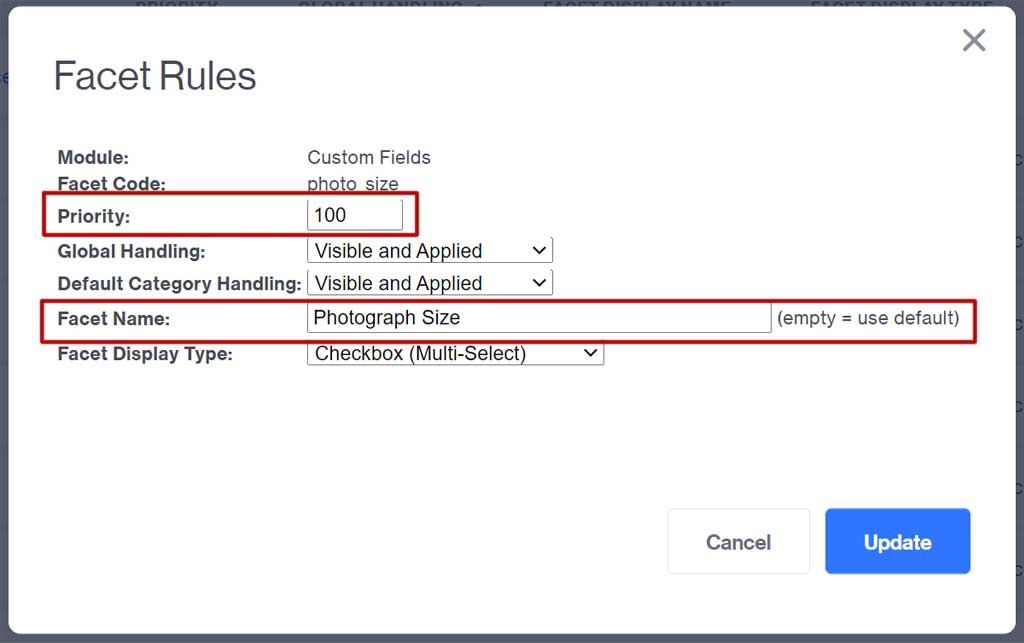
By default, the Priority of your facet will be set to zero. You can move them around by changing this number; facets with a higher priority number will appear higher in the list.
You can do this individually by clicking on the facet, or for all facets at once by clicking the blue Edit Priorities button.
By editing the Facet Name you’ll overwrite the facet name that was entered when creating the custom field. If you use the custom field data in reports and list “Manufacturer” for example, you might want to refer to the field as the “Brand” to the shopper.
Or perhaps you hold your items in multiple warehouses. You might want to call the custom field “Warehouse Location” but want the Facet to show as “Pick-Up Location” on the site.
Changing Your Display Type
I’ve made a Text Field type custom field. It allows me to enter one option per product, as in the size of the picture frame.
The shopper, however, may want to view multiple frame sizes. You can make that possible by changing to type to Checkbox (Multi-Select):
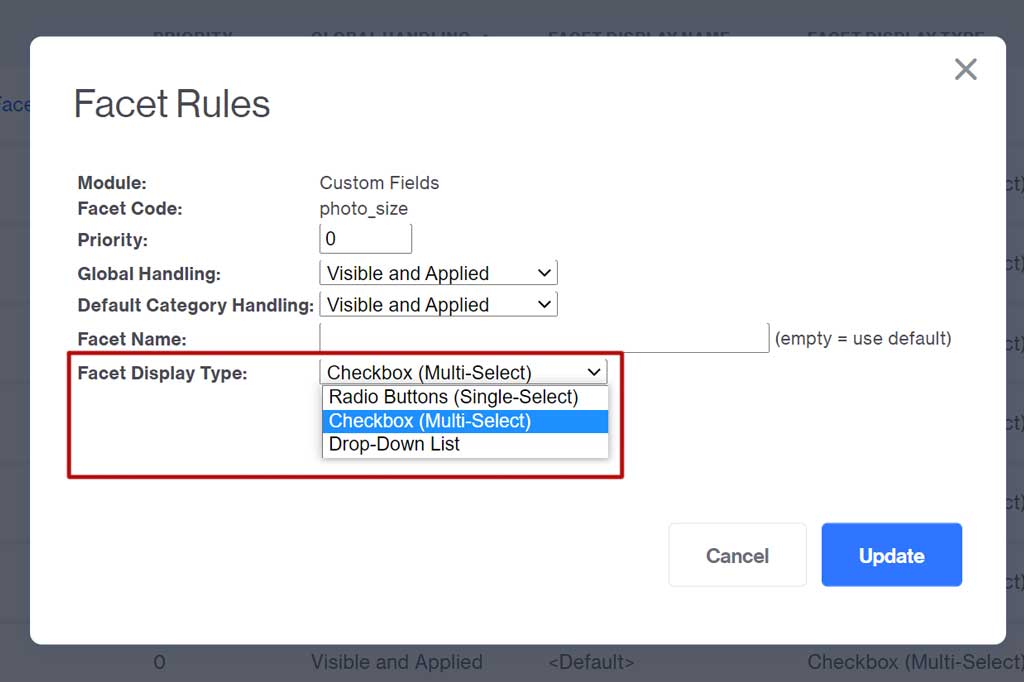
If you want your shoppers to be forced to select one option, then a Radio Button type is for you. The Drop-Down List type will similarly only allow one selection, but uses a drop-down menu instead of displaying all options.
Facet Handling
The long-and-short of it for Facet Handling is: don’t touch. That’s anticlimactic, I know. The handling options should be managed by a developer as they are often related to custom coding, hidden features, URL structure and more.
It’s best to not worry about changing those, and chances are, you won’t need to anyway. Left exactly as-is, your facets will show up on the storefront and be available for customer use.
Third Parties and Your Facets
Once you’ve created your custom fields and managed them as facets, you may find that you don’t see them on your storefront. This could be for a couple of reasons, like caching. If your site is cached with a system like Redis or Cloudflare, you may need to clear your cache or wait until the system does it automatically.
Using something like SearchSpring, however, means the facets will need to be added via feed processing. If you want to create and manage your own facets and you use something like SearchSpring, contact your developer for a hand.
Glendale Optimizations
As usual, our developers have looked at a cool Miva feature and decided they could really turn the volume up. We’ve produced our own in-house set of optimizations that we apply to custom fields and facets for our clients. Here are some examples of what we’ve done that make the facets and custom fields even more useful:
- Optimized Search Facets – Miva Vs. Glendale
- Display Your Inventory Status as a Facet
- Simplify Your Category Maintenance
- Sorting Numeric Search Facets in Miva
- Automate Your Recommended Products
Have fun with creating your own custom fields and facets; but remember to keep them simple, clear, and consistent, and don’t go overboard! If you run into issues with your custom fields or facets, or you’re looking for something more advanced, contact us!