Estimated reading time: 9 minutes
As important as good site design, comprehensive descriptions, and organized categories are, the real pièce de résistance when it comes to selling your products, is the product image. Arguably the biggest drawback about selling exclusively online, is that shoppers have a tough time really knowing what they’re getting before they make a financial investment.
Some say it’s the price we pay in exchange for convenience. But more and more, consumers are expecting premium return services for purchases simply because the item isn’t what they expected. Return costs and customer service hours are skyrocketing as store owners strive to keep their shoppers happy.
But what if you can reduce those expenses before the user even gets to the checkout? Sticking to these best practices for your product images can help mitigate that extra cost.
How Do Images on My Site Affect My Bottom Dollar?
People are like birds; we are attracted to pretty things. Nice-looking images draw the eye and open the wallet. They can help the shopper envision themselves using the item, much like staging your home for sale.
Appealing images will doubtlessly increase sales, and they can also help save you money. There is more to consider than just the aesthetics of your product images. Consider the following characteristics when sourcing your product images, to maximize sales and protect against losses.
Product Image Size and Quality
Uniformity
A lot can be said for something as simple as appropriate image sizing. Having uniformly sized images adds a sense of tailoring to your store. When you go to a large retailer’s website, you won’t find a variety of sizes and image orientations. They will all be consistent in dimension, resolution, and orientation (landscape, portrait, or square).
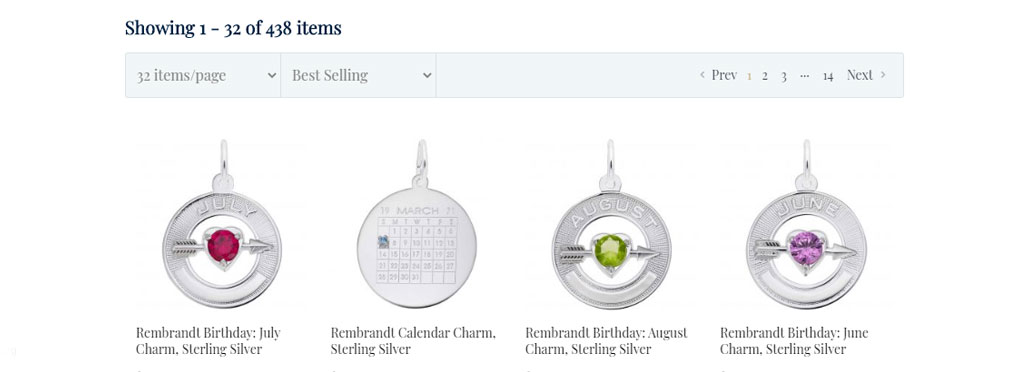
This is a small touch that creates a polished finish to your category pages. Besides uniformity and symmetry being pleasing to the eye, it also helps reduce the distraction that different shapes can cause.
In the same spirit of uniformity, having consistent quality, coloring, and backgrounds will add a note of professionalism to your store, regardless of how small you are.
To Sum It Up
When your product images appear as professional as your major competitors, you’re helping your users feel comfortable making a purchase with a small business.
Mamma Bear Sizing
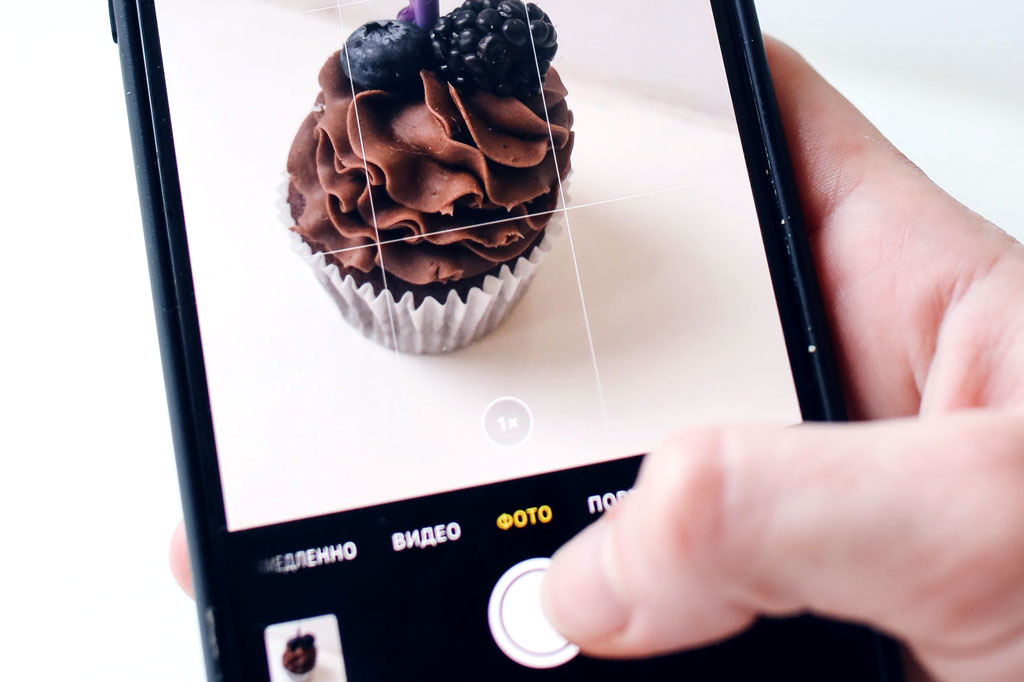
We all know the story: Mamma bear’s bed was juuuust right. That’s what you need to look for with your image sizing. You want to be able to provide nice, large images for your customers, but if they’re too large, your page loading speed will suffer and they may even be too large to view comfortably. Too small, and your shoppers won’t get a close enough look at the details to be able to make an informed decision.
The balance between size (both dimensional and file size) and page optimization requires special attention at every stage of site design, including product images. Here are a few tips to find the right mamma bear sizing for your images:
- Around 1000 pixels at the largest side. They don’t need to be square, but again they should be consistent in size. You should avoid going smaller than 800 pixels or larger than 2000 pixels. You can keep the resolution at 72 dpi (dots per inch); images on the web don’t need to have a high resolution the way print images do.
- JPG file format. Jpg images show the best range of colors without taking up as much space as PNG images, which makes them ideal for photographs of products.
- Moderate file size. The larger and higher-quality your images are, the larger the file size will be. Your shoppers don’t need print-quality images, but if you downsize too much they will look grainy, blurry, or pixelated. Use Photoshop or online editors to reduce your file size as low as possible before you start to visibly lose quality. Your product images shouldn’t need to be larger than a couple hundred KB but smaller is better.
To Sum It Up
Finding a balance between providing large images at smaller file sizes will allow your customers to get a good, clear view of the detail of your products, without causing lag to your site’s loading time.
Quantity and Types of Secondary Product Images
You should aim to have a good mix of image styles for your products.
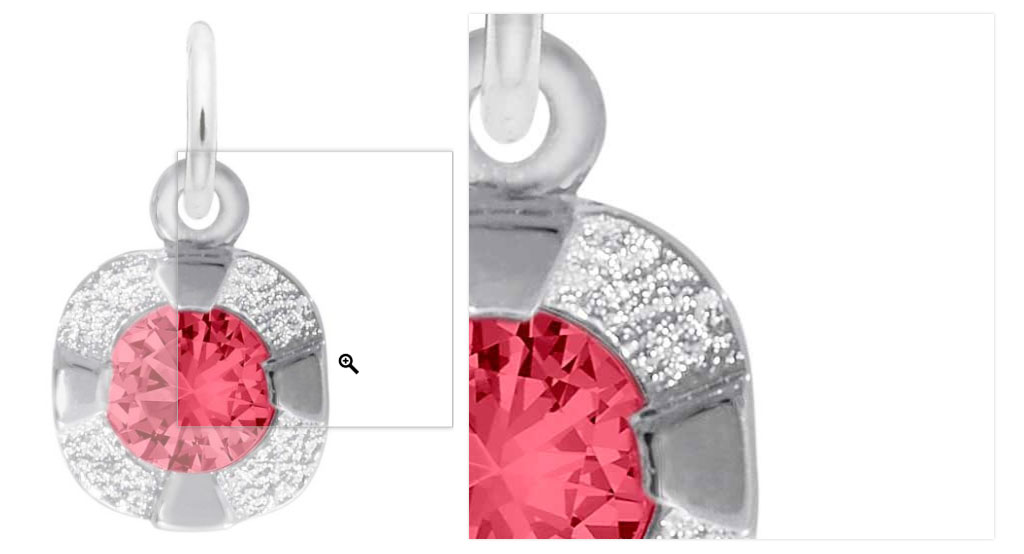
- Technical. Clear, clean images, on solid color backgrounds, with a high amount of detail.
- Aesthetic. Stylized, lifestyle photographs. Show the item in use and/or in an environment. This helps the user envision themselves using the item, as well as giving a better idea of proportion and scale.
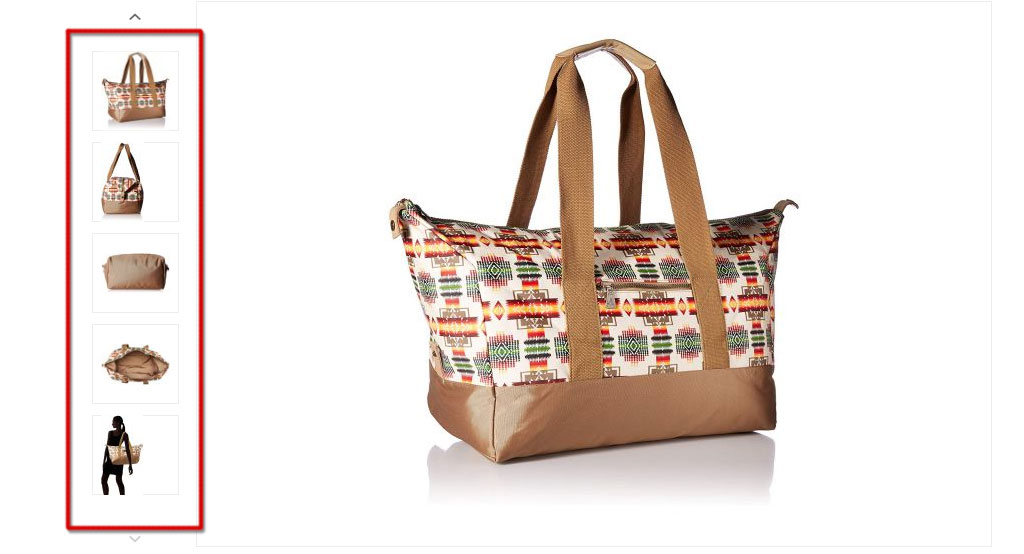
- Multiple views. Offer as many views as you need to fully show all the product’s specifications, details, features, and properties.
The one you choose to be the primary (main) image will depend on the type of site you have. If you’re a B2B seller offering wholesale products, for example, you may want to present a technical image as the main photo.
Offering many different views and showing the product in different contexts helps shoppers make informed purchasing decisions. This is where the big savings come in, as far as returns and customer service. For example, a purse:
- A full image of the bag
- Detail shots of the texture, pattern, and fixtures
- Images of the bag’s inside (pockets, compartments, zippers, and lining)
- Images of a woman holding the purse for size/scale
- An image of the bag on a sofa or in some other environment that is aesthetically pleasing, maybe with a coordinating scarf that you also sell
When the user can see every detail and the real life sizing, they will know better if the product will suit their needs.
That may seem like a drawback – you risk losing a sale, after all! But in reality, you’re only losing a sale on a product that isn’t right for your customer. If you utilize your “recommended products” sections properly, you’ll be able to direct them to an item that will fulfill their needs the first time, instead of having to shell out for a return, or dealing with a negative review, first.
To Sum It Up
Showing as many views and angles of a product as possible will help ensure your customer makes the right purchase the first time around, saving you return and customer service costs.
Dynamic Product Image Solutions
As technology and expectations progress, more image solutions have become available for store owners. Taking advantage of these options will not only help keep you on the cutting-edge of your industry, but will continue to improve upon your shopper’s experience. Here are some ways you can explore dynamic product image solutions in your own store:
360º Views
Allowing your shoppers to rotate the product image to view it from all angles combines offering plenty of views with the twist of modern technology. You give the shopper the choice to inspect the item closely, and it provides a sense of 3-dimensionality that might be missed from a brick-and-mortar store.
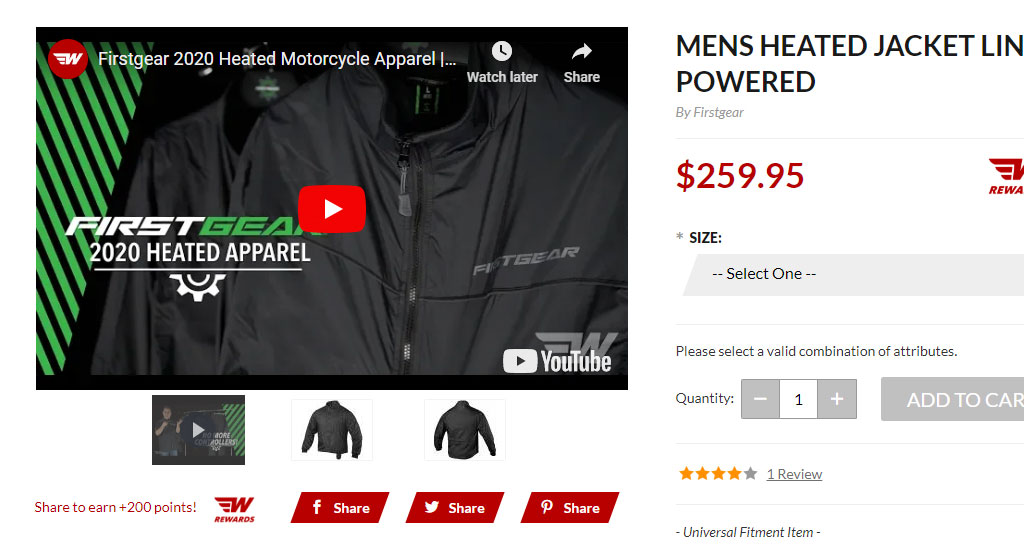
Video
We have helped many of our clients by adding the ability to post videos to their product image galleries. It’s an enticing way to not only demonstrate the product properties but also provide instructions.
Videos will help increase your time-on-page metric, and can be shareable on social media (free advertising!).
Variant Images
This option is particularly helpful if you offer variations to your products. When you enable attribute selection and take advantage of Miva’s attribute variant system, you can have the product image change dynamically, based on the options selected. Instead of showing your shopper a green item and telling them it comes in red, you can show them the red.
Leaving visuals up to the consumer’s imagination is a sure way to increase your number of returns.
To Sum It Up
Rethinking the way you provide product images will give you more opportunities to showcase your items and inform your customers. That will invariably lead to higher sales, and lower returns.
The Bare Minimum
We understand that making big changes to your site’s functionality can be a daunting task. If adding new bells and whistles are in your immediate future (aka in the budget), there are some things you can do yourself. Make sure that you have these bare essentials covered before you worry about moving on to bigger and better product image options:
- Image size: Wherever possible, make sure your images measure 1000 pixels. Check with your supplier/manufacturer for updated images.
- File size: Use a program like Photoshop, or a compression site to reduce your file size. Remember, go as low as you can without noticeably losing quality.
- Consistency: Follow through with all your images. Be consistent in the image dimensions for a professional look.
- Secondary images: If your supplier has them, use them! If they don’t, or you produce the product yourself, take your own images. Aim for well-lit, simple images that show lots of detail.
Depending on your product catalog size, those few changes may take a long time to complete, but they are very worth the effort. If you simply don’t have the time or staff to do the work, we do offer maintenance services that provide image updating at a reduced cost.
If you want to look into maintenance work, or adding some of the dynamic product image solutions to your website, get in touch with us. We can help you figure out what will work best for you.