Estimated reading time: 8 minutes
Whether you are adding a Contact Us page to a new store, providing return/cancellation policies to your customers, or perhaps offering tips and tricks about your products, using custom pages is the easiest and most efficient way to get the job done. It can now be even easier with this illustrated, step-by-step guide to help walk you through the process of adding them yourself! Follow along, and before you know it, you will have a shiny new page on your site created, filled with the content you need.
STEP 1: Open Miva Twice
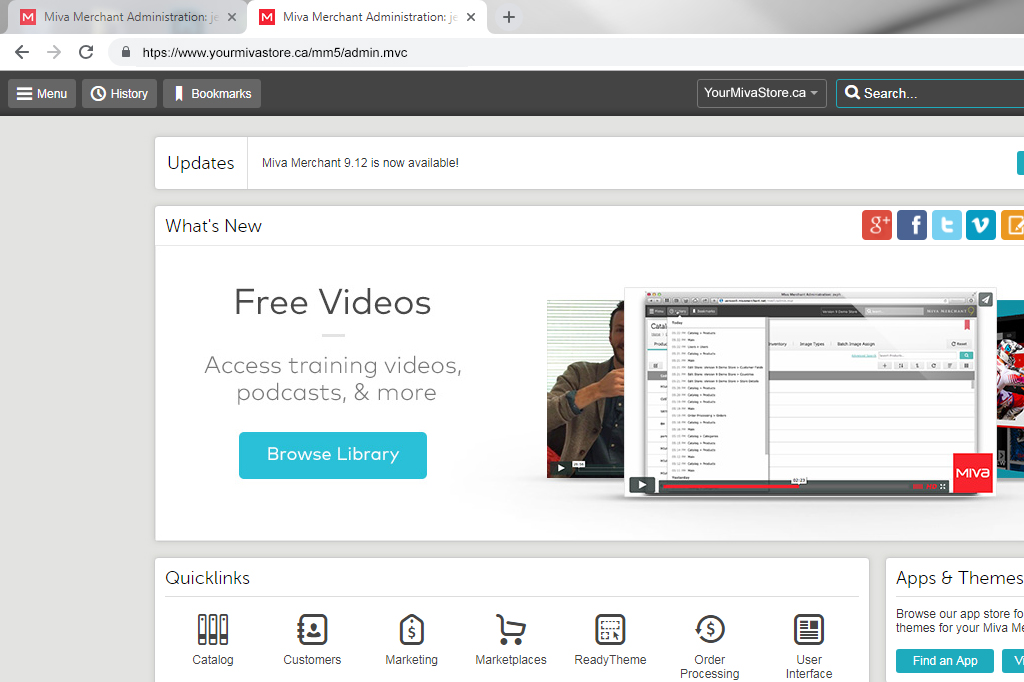
To get things going, begin by opening Miva Admin in two (yes two!) different internet browser tabs/windows and log in. This is important because you will be copying/comparing the setting of the new page to an existing one.
STEP 2: Opening Your Reference Page
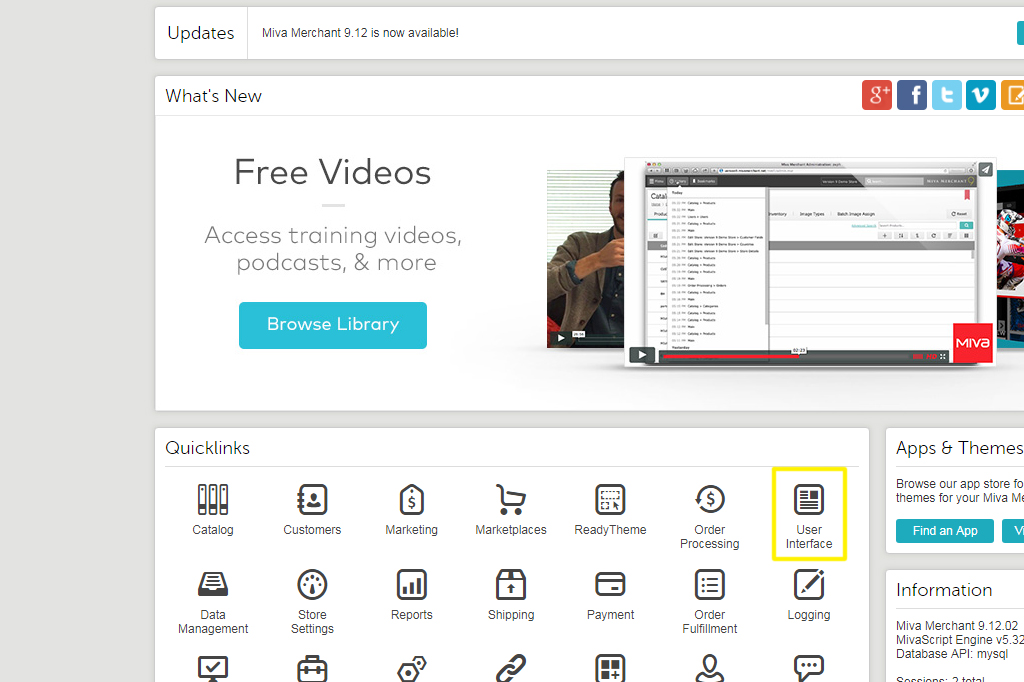
To make this process easier and faster (something we could all use more of), you will open an existing page to copy from. To do this, from the HOME page, click on USER INTERFACE in one of your Miva tabs.
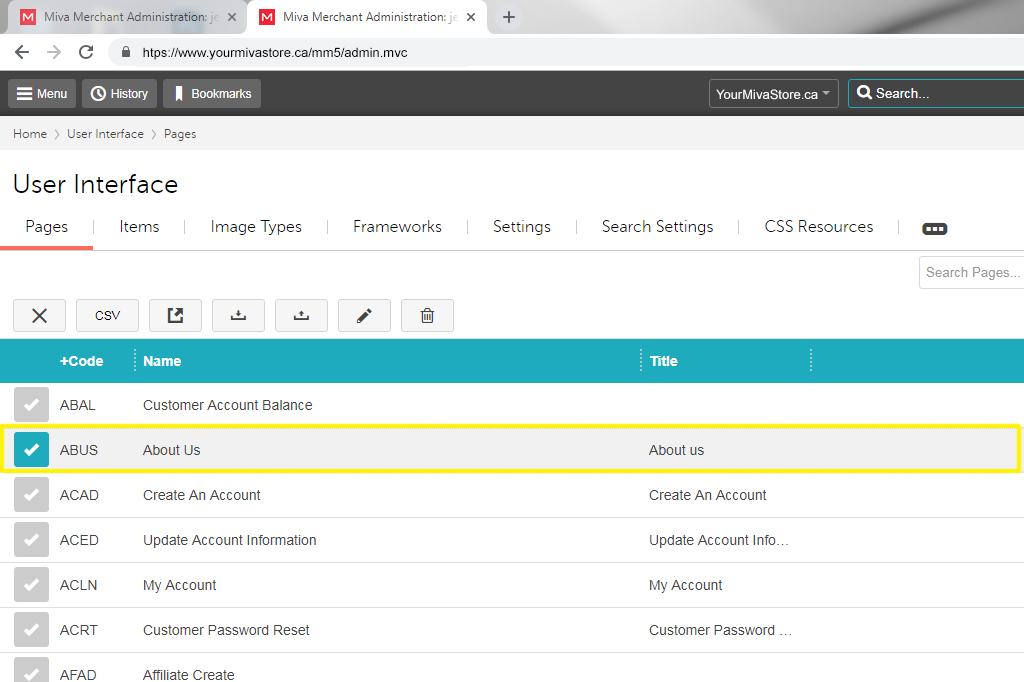
You will be using the existing “About Us” page as your reference/template (with the code ABUS). Click on the OPEN button to pull up the “About Us” page.
STEP 3: Creating Your New Page
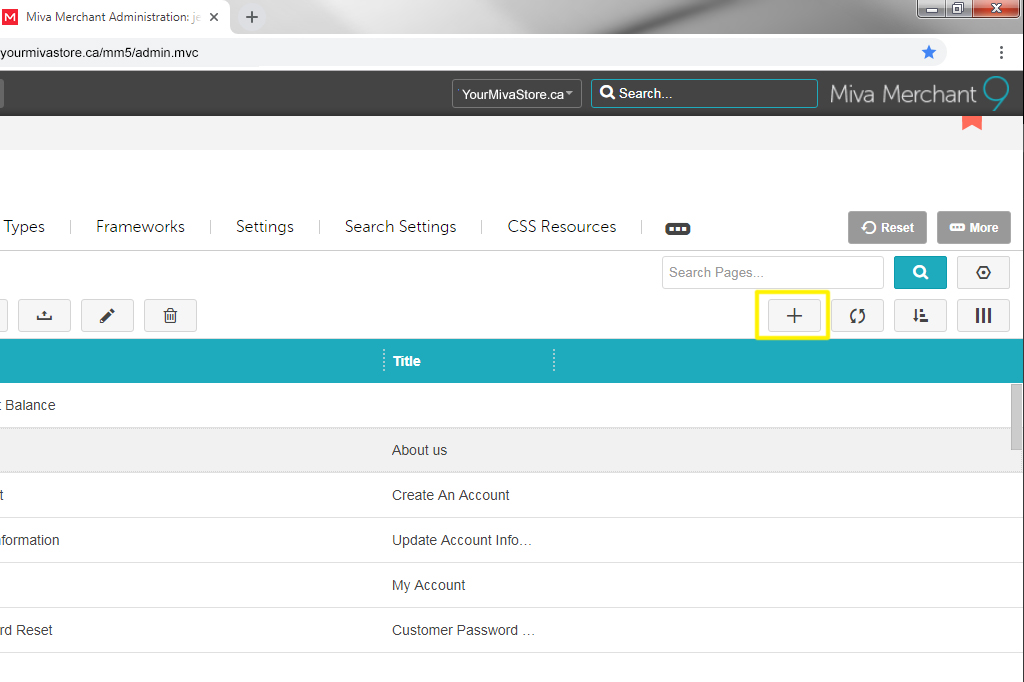
In your second Miva tab, navigate again to the USER INTERFACE page, but this time, click the + icon to add a new page. Now the fun begins!
STEP 4: Filling In Your Page Details
Now that your new page is created, you can begin adding in the information you need to customize it. First, enter the page name and code that you’d like to use. For example, if you’d like to create a page to show all your glowing customer reviews, you can use the code ALLREV and name the page “All Reviews”.
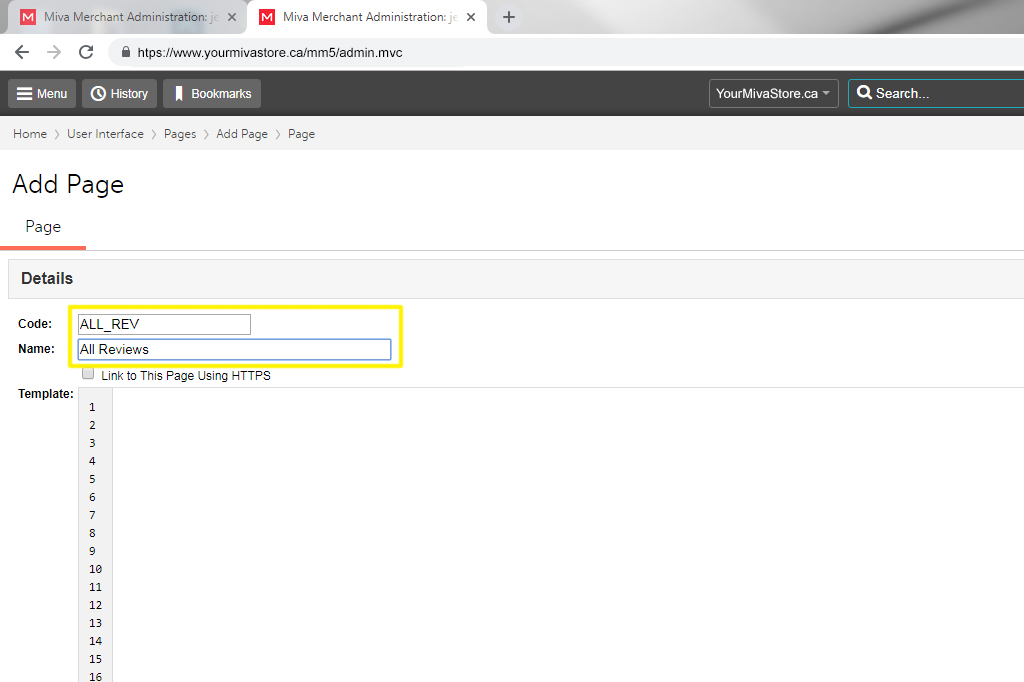
Once your page name and code is filled in, click back to your other Miva tab to view the “About Us” page. You will copy all the text in the “Template” section to paste into your new page. You can either highlight the text by clicking and dragging with your mouse, or you can click in the “Template” text box and select all by holding down ctrl (or cmd on a Mac) and pressing “A”. The combination of ctrl+A will select all. From there, you can either right-click your mouse to copy the text, or you can hold ctrl (cmd on a Mac) and press “C” to copy.
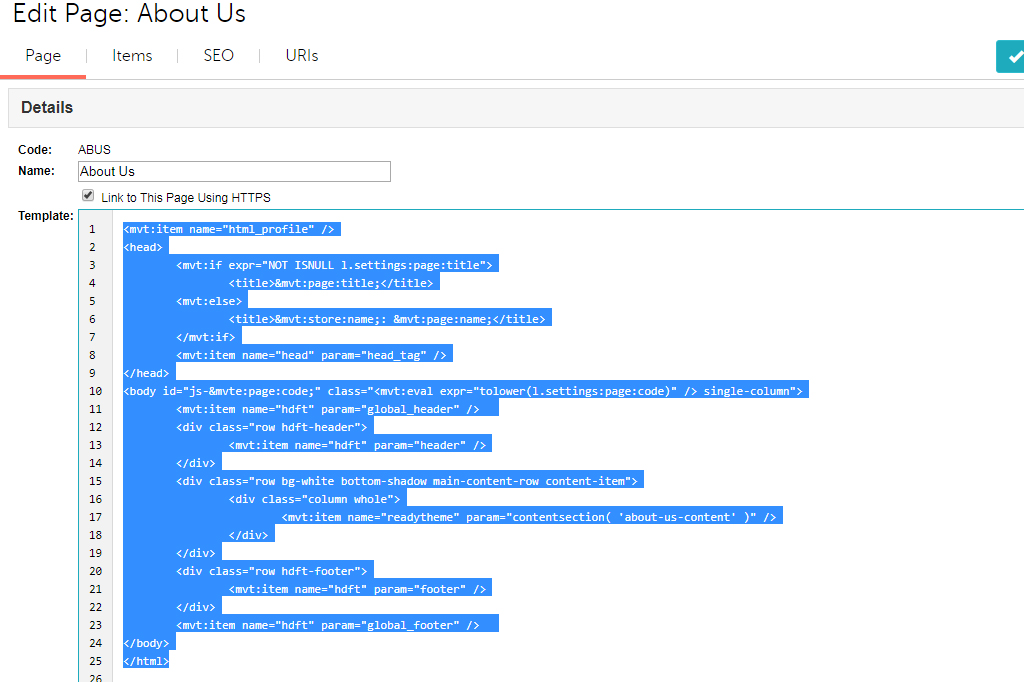
Paste this text into the “Template” section of your new page by either right-clicking to paste, or clicking in the “Template” text box and pressing ctrl+V to paste. The only change that will be made to this text, is the following line of code:
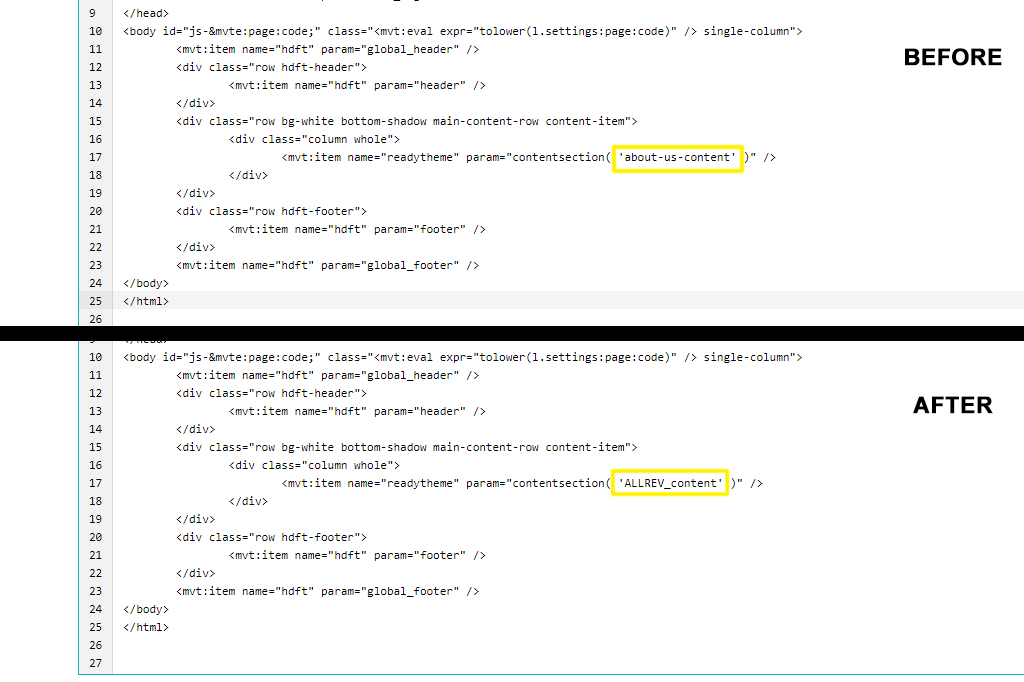
<mvt:item name=”readytheme” param=”contentsection( ‘abus_content’ )” />
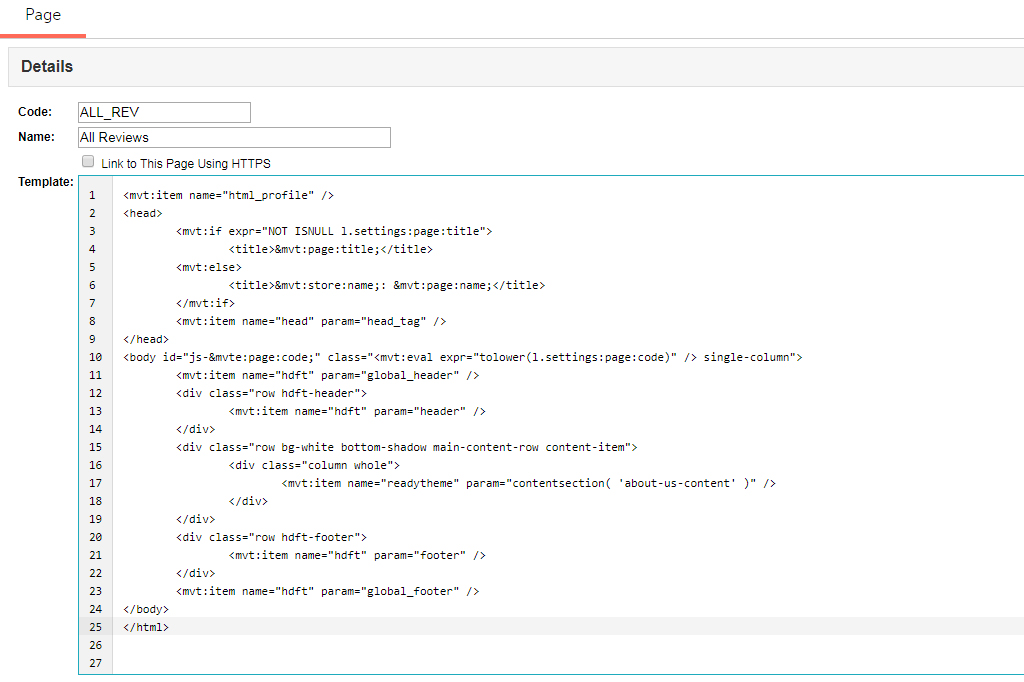
This is where the new page content will go, which you will create in the next step. Click the grey “+ Add” button in the upper right corner to save your work before moving on.
STEP 5: Creating Your New Page Content
After you’ve added your new page, return to the Miva HOME screen and click on READYTHEME
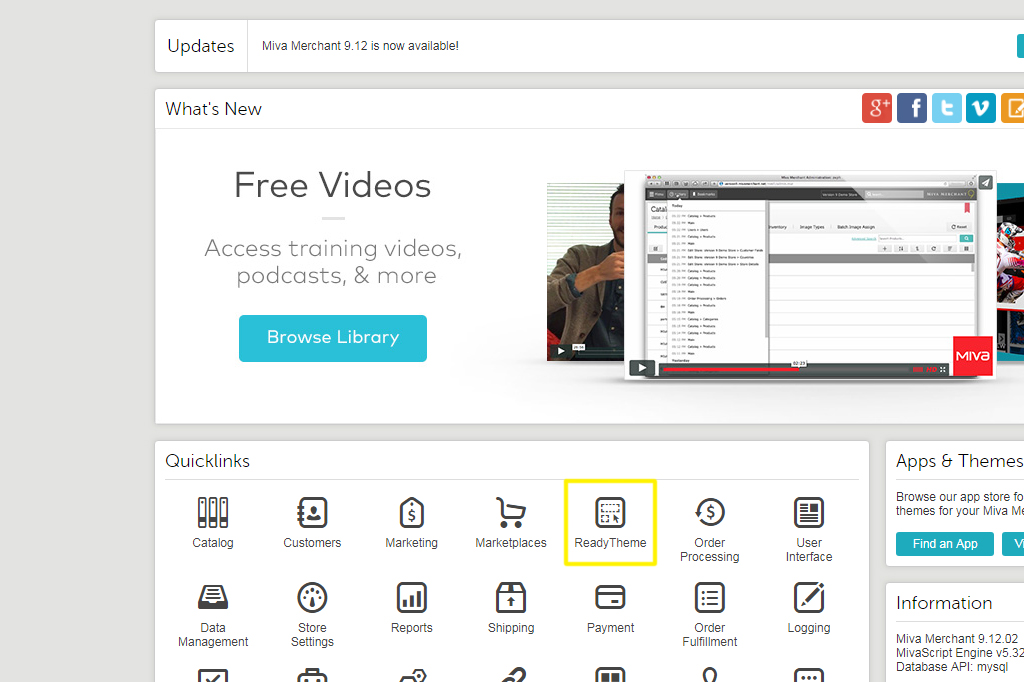
Once you’re in the ReadyTheme section, click on the tab at the top called “Content Sections” then the + icon to create new content.

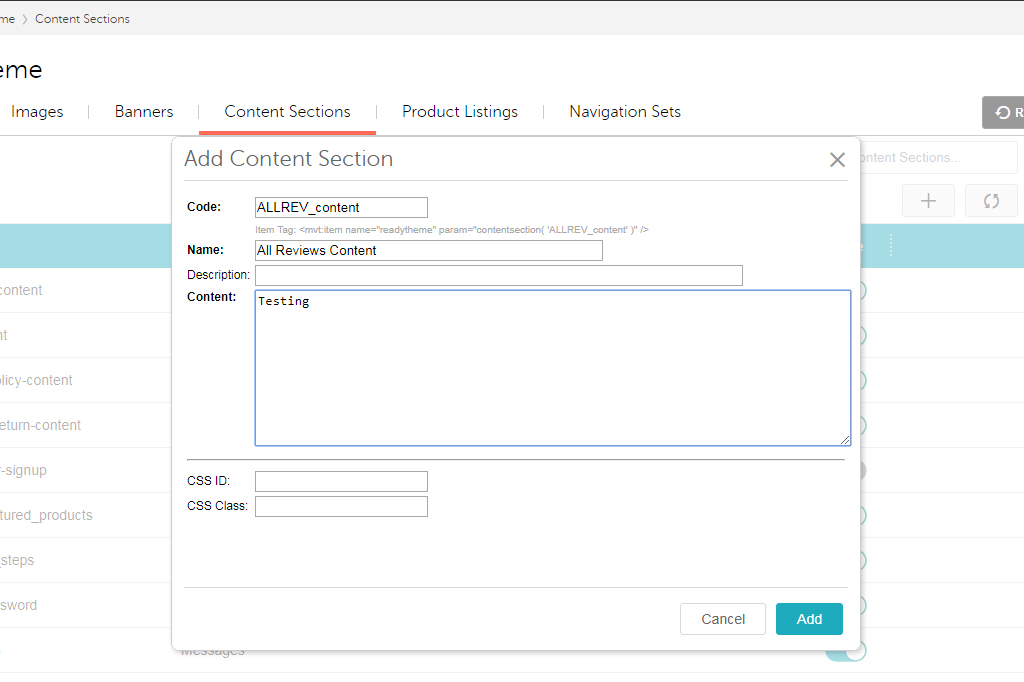
As in STEP 4, you need to enter your code and name. It’s generally recommended to coordinate the content you’re creating here to the page it will show up on later. Again using the example of a new “All Reviews” page, you might use the content code “ALLREV_content” and name it “All Reviews Content”.
Before you can click ADD, you will need to fill in the “Content” text box. If you have your new content (i.e. Reviews, instructions, directions, contact information, etc.), you can enter it now. If you don’t have it ready yet, you can enter something like “testing” for now and edit it once you have the information you need. Click ADD to save the new content.
STEP 6: Editing Your New Page Code
Now that you’ve got your new content, you need to go back to the new page you created to edit that line of code mentioned in STEP 4. To do that, return to the Miva HOME page and click on the USER INTERFACE. Select your newly created page from the list and click on the “open” button to enter the page. Once you find the line of code, you will be replacing the section that says ( ‘abus_content’ ) to reflect the CODE you used when you created your new content. Click the blue UPDATE button in the upper right corner to save the change.
STEP 7: Assigning Items to Your New Page
Now that your code is edited, you need to add some “items” to your new page. This is another step where the second Miva tab will come into play, to reference the setting on the “About Us” page. You will need to click on the ITEMS tab on both Miva tabs (your new page, as well as the “About Us” reference tab).
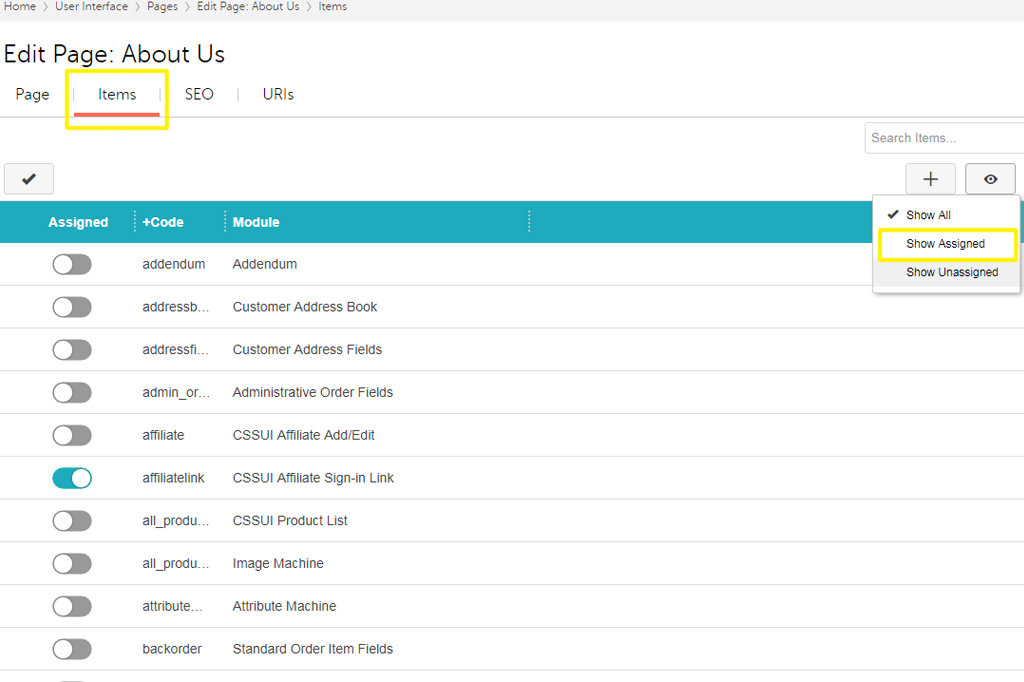
To view the items that have been turned on, or “assigned” to the “About Us” page, click on the eye icon in the upper right-hand of the window and select “show assigned”. This will change the view of the items only to show the items that have been assigned to the “About Us”. These are the same items that will need to be turned on in your new page!
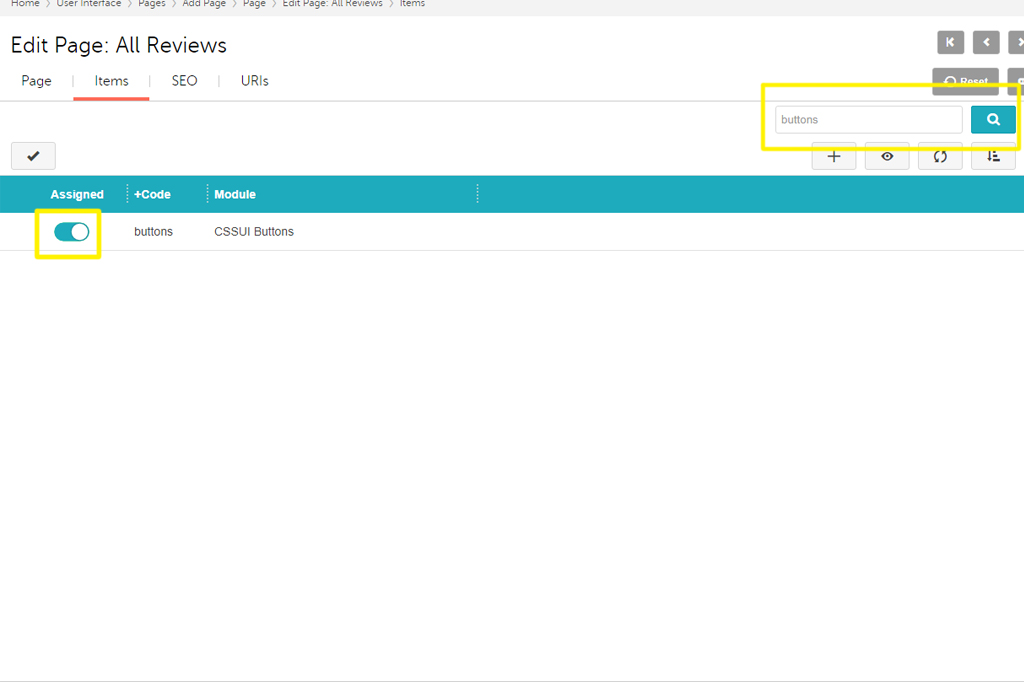
Return to your new page screen, and simply start turning on all the same items as shown in the “About Us” page. You can do this by scrolling through the list and turning them on as you come across them, but there’s an easier way. Use the search bar to find the items you need, then click on the toggle switch next to the item to assign it.
And that’s it! Remember, if you entered “testing” during the content portion, you will need to go back and edit that once you’ve got the text needed to complete the page.
In a matter of a few clicks and copying some pre-existing site settings, you’ve got a brand new page loaded with your custom content ready to go!